Large issues are occurring within the Cambor family! When you’re new to this “design teaching” mission, let me catch you up to the mark! Again in January, Emily wrote a publish asking for folks to submit their upcoming design/renovation initiatives within the hopes that she would possibly have the ability to supply some perception and knowledge as somebody with a variety of transform expertise underneath her belt. She wouldn’t be taking on the design or mission administration of another person’s mission, however she’d act extra as a backboard–bouncing off concepts, recommendation and previous learnings, as questions or design conundrums got here up within the course of. Chrissy and Peter Cambor submitted their kitchen renovation and it felt like simply the appropriate mission to tackle. In only a few months, they’ve made a TON of progress.
In our final replace publish, the ultimate kitchen structure had been selected, IKEA cupboards and stone counter tops have been bought and demo was underway. Nicely, now it appears the kitchen is almost full! Pete had a lofty aim to complete the transform by Chrissy’s birthday (June 22) and aside from a couple of ending touches, they’ve just about met their deadline! WILDLY IMPRESSIVE. However maintain on – this isn’t a reveal publish simply but! There may be PLENTY of enjoyable course of to catch you up on–so let’s get proper to it.
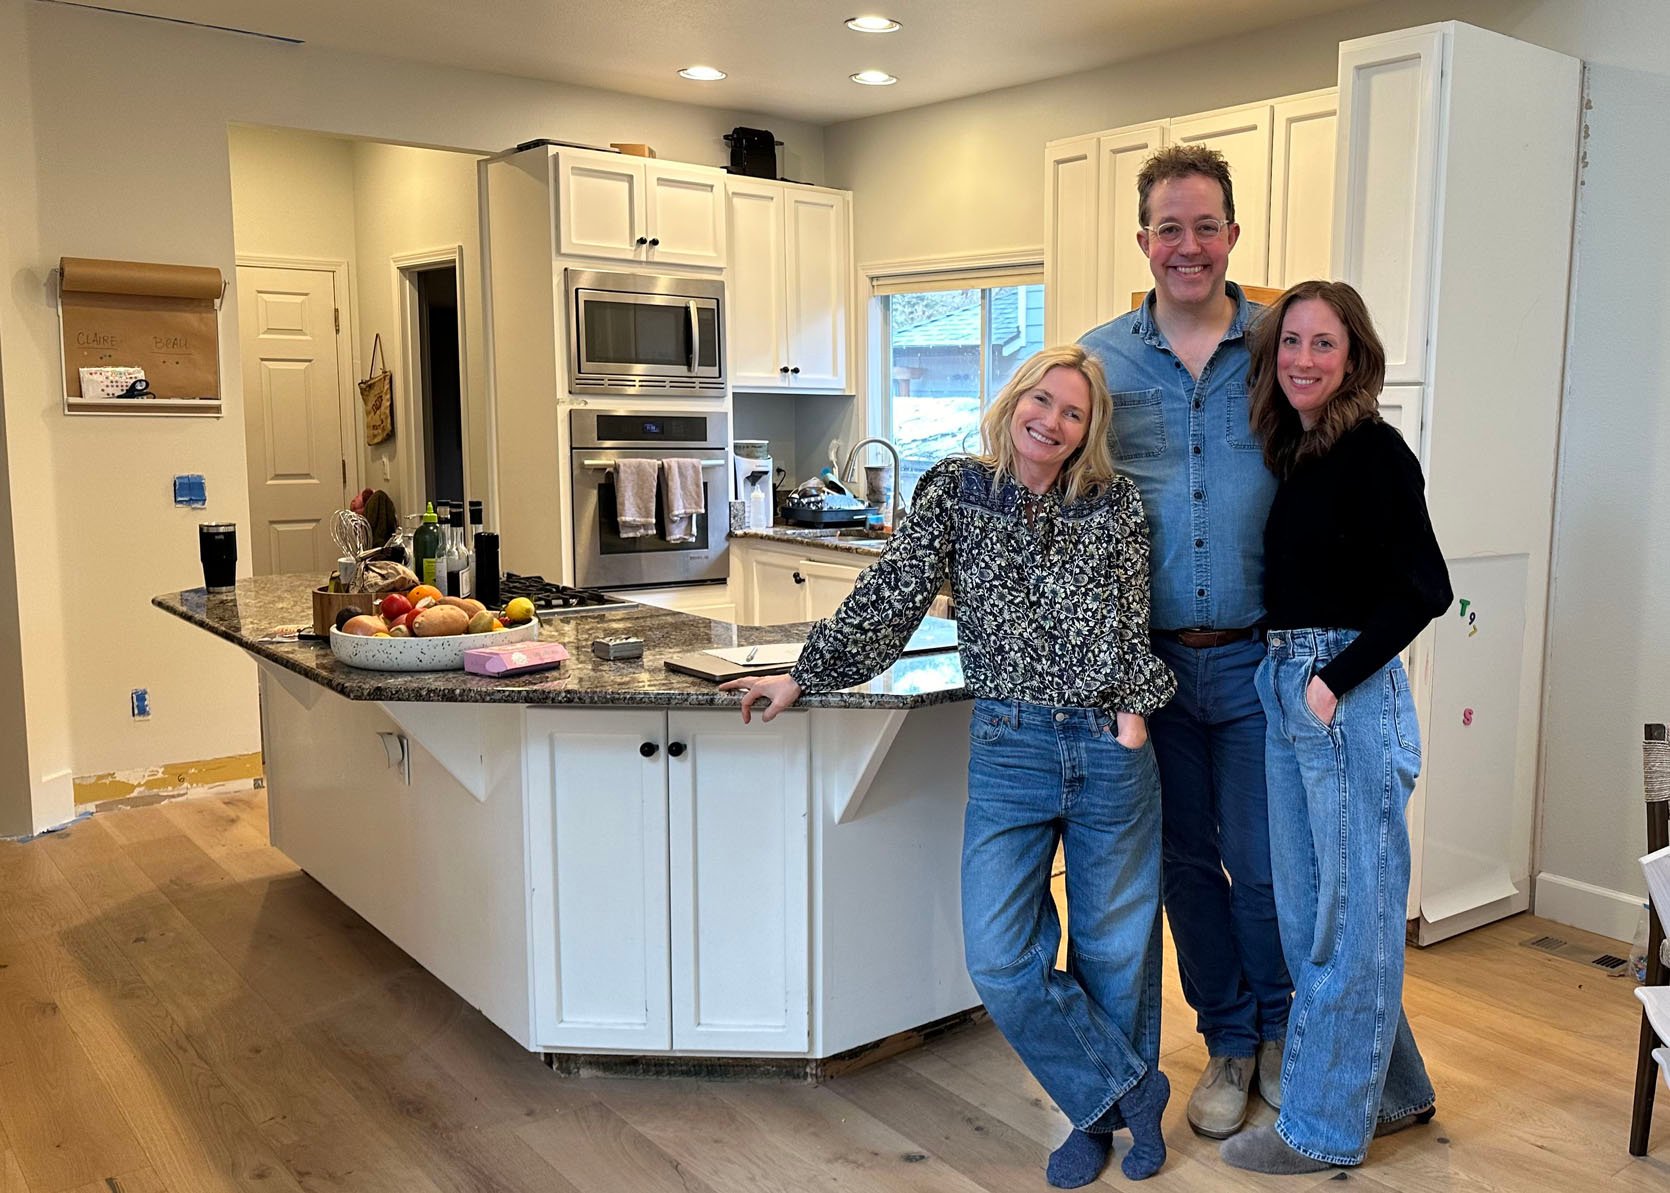
A fast reminder–this was their kitchen earlier than. They’ve been fairly nice about documenting their transform journey and Pete had a variety of useful issues to say about the way it’s been going up to now. He’s accomplished a ton of the hands-on work himself, solely hiring out the place crucial, however main this renovation with nice DIY success. Right here’s what he needed to say:
“To be clear – all of that is very doable, if not time-consuming. I’m certainly not a building skilled – I’m a really JV DIY sort of man (I’m positive there will probably be loads of head scratching by some who have a look at my handiwork). I believe it will be important with DIY to remind your self that you’re GOING to make errors, and virtually all the things could be mounted at minimal price.”
Right here’s the gist of what all they’ve completed since we final checked up on their mission:
Accomplished demo
Completed drywall and bumping out the wall
Moved and added a brand new window
Constructed & put in IKEA cupboards
Put in stone counter tops
Put in home equipment
Tiled the again wall
One of many first issues to deal with after demoing the previous kitchen was the wall that was shared with the powder rest room. The unique nook cupboards receded into the wall initially, which meant that post-demo, they’d have to bump that wall out to make it flush. They initially thought this is able to add somewhat sq. footage to the toilet, too, however Pete says, “We couldn’t open up the toilet as a result of there was water piping operating upstairs in that loo wall – so we simply popped some framing to make the brand new wall squared off with the kitchen. Regardless that we technically decreased the sq. footage of the room, the room truly feels LARGER. It’s simply nice.”
Concurrently, they tackled arguably probably the most essential a part of the redesign–constructing and putting in the IKEA cupboards. They went with the AXSTAD blue kitchen cupboard fronts.
“The cupboards from IKEA are nice. The product has improved rather a lot over the past 15 years (in my view), and when you get into the swing of it, it is vitally doable. Our method was to construct the inside (the bones, if you’ll) of the cupboards within the 10 days main as much as the set up. So mainly, we might do a couple of an evening, and simply saved them in our lounge. It was annoying in that it was inconvenient to have them lined up in our lounge, nevertheless it made set up day manner simpler. We employed an incredible group to return in and do the demo, which took about 4 hours, and it took me the remainder of that day and the next day to put in the cupboards and actually get them dialed in. This included constructing a brace for the island (the cupboards must be supported towards one thing).”
“Right here you may see the start of the island going down. The 2x4s are there to help the cupboards and provides them one thing to latch onto. Discover the hole within the 2×4 help construction. That’s for the periscoping downdraft vent. This photograph is earlier than we needed to transfer the fuel line and vent location…”
Sadly, Pete found that the fuel line and downdraft vent wanted to be moved to line up completely with the periscoping vent fan that pops up behind the stovetop. They employed somebody to maneuver the fuel line and the vent, however Pete was in a position to maintain {the electrical}. The crimson circle is the place they needed to shift all the things to.
“The periscoping vent fan was probably the most demanding a part of all of this, because it required whole precision to line up behind the cooktop and for the (stone) fabricators to make the reduce good. I misplaced many an evening of sleep over this, and needed to consistently modify, even a bit on the day with the fabricator. In the long run, all of it labored out, and we might have discovered somebody to put in it, however we had hassle finding anybody who had any expertise in putting in a periscoping vent.”
“Right here’s a greater have a look at the construction that supported the cupboards within the island. And shout out to Mountain Home Tenting Meals – I ate a zillion of them when the kitchen was out of fee. Mac and Cheese and Lasagna, I extremely suggest (the children have been keen on Mac and Cheese).”
Both aspect of the island required a intelligent technique to cowl up these help beams, so that they opted to waterfall their stone counter tops. This additionally carved out an incredible spot for barstools alongside the bottom (one thing many readers additionally recommended!). That they had initially deliberate for cupboards on this aspect too, however finally, there simply wasn’t area, so a spot for stools was a simple alternative. Right here’s what Pete needed to say:
“The waterfall is nice. We have been undoubtedly hesitant about it at first – from a design viewpoint, they weren’t our first alternative, however we felt it was the easiest way to cope with making the IKEA island work. As a result of cooktop being on the island and the periscoping vent fan, there would have been a big hole in the long run panels. The waterfall ensured this was lined seamlessly.” For the stone, they went with a quartz slab known as “Enigma”.
“Right here I used to be prepping for the highest cupboards – this bracket needed to be completely stage and at simply the appropriate top for the IKEA cupboards. These have been for the cupboard above the fridge and the oven/microwave. We needed to transfer the 220 outlet, which was a little bit of a factor, so we additionally employed somebody to try this.”
Other than a couple of hiccups and stressors, the majority of the kitchen work was accomplished, after which it was time for tile – one thing else Pete (and Chrissy!) tackled DIY-style. They completed up the encircling drywall, ensuring to prime the backsplash wall, which helps the mortar stick. Initially, Chrissy and Peter have been fairly set on Pratt & Larson’s Idris Area tile in Pearl Grey, however after cautious consideration, they as an alternative opted for Zellige in ‘Casablanca’ by Zia Tiles.
“We ended up going with Zia Zellige Tile – which we actually preferred. Good and thick, and all of our tile got here UNHARMED. A couple of of them had some blue blemishes, which I’m instructed is par for the course. Chrissy and I assumed that ‘Casablanca’ would simply brighten up the room a bit. And we LOVE it. Completely stoked. The Pearl Grey was fairly, however the white is simply beautiful.”
Earlier than they may begin with the set up, they needed to soak the entire tile in room temp water for 1-2 minutes, per the set up directions. Chrissy talked about that this releases the air bubbles within the clay, which you’ll be able to see within the image. Zia Tile additionally recommends this for glazed tile to take away mud and residue, and to verify the tiles adhere correctly. And right here’s Pete’s “” in terms of set up:
“The approach – take the mortar and use this thingy that has traces (tremendous technical right here) and unfold it on clean. Then make traces.”
“Then (apply mortar and) make the traces on the tile so they’re perpendicular (there are like 1,000,000 YouTube movies about how this creates a suction impact and so forth and so forth…).”
“You then press the tile into the wall, and increase. You’re an skilled. (One factor – we used no spacers. Often with imperfect tiles, we used a spacer, however for probably the most half, none. Additionally, get a laser stage. Tremendous essential to verify they’re stage. Only a laser that factors a line on the wall. SUPER useful. When you don’t have a tripod, get one as nicely for the extent. Bosch makes a great one.”
Chrissy and Pete knew they needed a kind of vertical border on the base, so that they began with that and labored their manner up and to the appropriate as they positioned the tile. Pete says, “Folks have all kinds of “methods” you’re imagined to line up the tile and plan forward. We knew we needed to do that border on the backside.” In order that’s what made sense for them. Each talked about this was fairly tedious and a ache within the…fingers.
And right here is the again wall absolutely tiled! The brackets protruding of the wall are for floating cabinets – one thing they made positive to plan for and set up into the studs as they did the tile. Means simpler than drilling into tile after the very fact.
“You’ll be able to see our cupboard fronts as nicely right here – The blue is tremendous darkish as a result of we left them wrapped of their plastic lining in order to not harm them throughout the tiling/grouting and so forth. Additionally, the blue tape – crucial. Chrissy examine that on-line – use it to open the drawers and cupboards prior to installing the {hardware}!”
For grout, they tried out a couple of totally different grays however ended up selecting a colour that felt a smidge lighter than the tile – Eggshell by Maipei. For now, that’s about the place the replace stops. The home equipment are in, and it’s now a mostly-functioning kitchen, solely lacking a couple of remaining touches (just like the cabinets, {hardware}, and a handful of touch-ups) earlier than the grand reveal.
So how are Chrissy and Pete hanging in there?
“Feeling very drained, however we did keep on with our deadline of getting the kitchen prepared by Chrissy’s birthday – which we kind of hit – the kitchen was functioning and dealing, which was wonderful. We even had it prepared per week early for Father’s Day. I’m massive on deadlines. What’s the expression, ‘Shoot for the moon, and in the event you come up quick, at the very least you’re that a lot nearer to the moon?’ I’m most likely butchering that, however you get it (that expression works for DIY, most likely not a lot for astronauts). General – feeling good – taking a mini break to regroup. Quite a lot of late nights and sore backs. However we’re on the point of dive in on the lights, the {hardware}, and the bookshelves!”
An enormous because of Peter & Chrissy for sharing all of their kitchen DIY learnings with us, to not point out taking nice course of images alongside the way in which (not all the time a simple job). We’re so impressed with their FAST progress, and it’s been superior to see their imaginative and prescient from the start to now. Many design shifts have been made alongside the way in which, however all for the higher. I believe the subsequent time we see their kitchen…it might simply be prepared for some profesh Kaitlin images and some styling touches. Keep tuned!


